
By SFBA Corsa with assistance from articles from Bob Nichols of SCC, the CORSA Tech Guides and Clarks Corvair Parts
Of the many unique things on your Chevrolet Corvair, one of the most unique items is the design and placement of the fan belt. While there are many other air-cooled engines out there powering everything from cars to motorcycles and even aircraft, none have the unique feature of the 90 degree belt drive possessed by the Corvair.
You’ve seen the crowd that your Corvair draws when you pop the hood at your local cars n’ coffee. The engine in “the trunk” draws them over. The Flat Six design raises eyebrows and the 90 degree belt leads to questions and anecdotal reflections or comparisons to Porsches, VW’s or water pumper engines.
The Corvair fan belt does have a reputation for coming off the pulleys or flipping (when a belt “flips” the wide side is facing into the pulley groove) or being “thrown” from the engine. This is not a frequent problem and greatly overblown from Corvair detractors.
Below we will give you some tips on what to buy, what to carry and what to do if you need to change a belt on the fly. We will also share some tips on what to check for before you leave the house.
***When a belt is thrown***
We hope that this never happens to you, but a couple of things to keep an ear out for when driving your Corvair are:
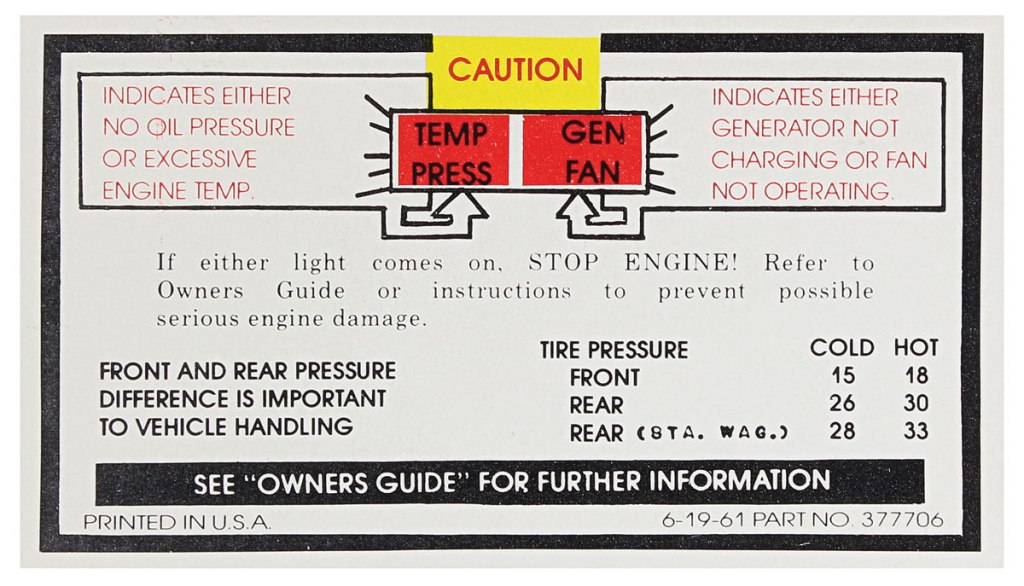
Gen/Fan light on the dash illuminates. Pull the car over and turn it off immediately. This light means your engine is running hot. Once safely pulled over and stopped, take a look and see what the condition of the belt and pulley system are on the car.
(make sure these lights work. They should always turn on when you turn the key over before starting and may stay lit shortly after ignition.)
You feel the car rev up without giving it gas. The belt driving the fan takes quite a bit of power from the engine. When the belt fails, the engine gets that power back and you will feel it. Same as above, pull the car over and turn it off immediately and check the engine for a thrown belt or any other out of the ordinary issues like a sticking throttle.
***Changing a belt on the side of the road***
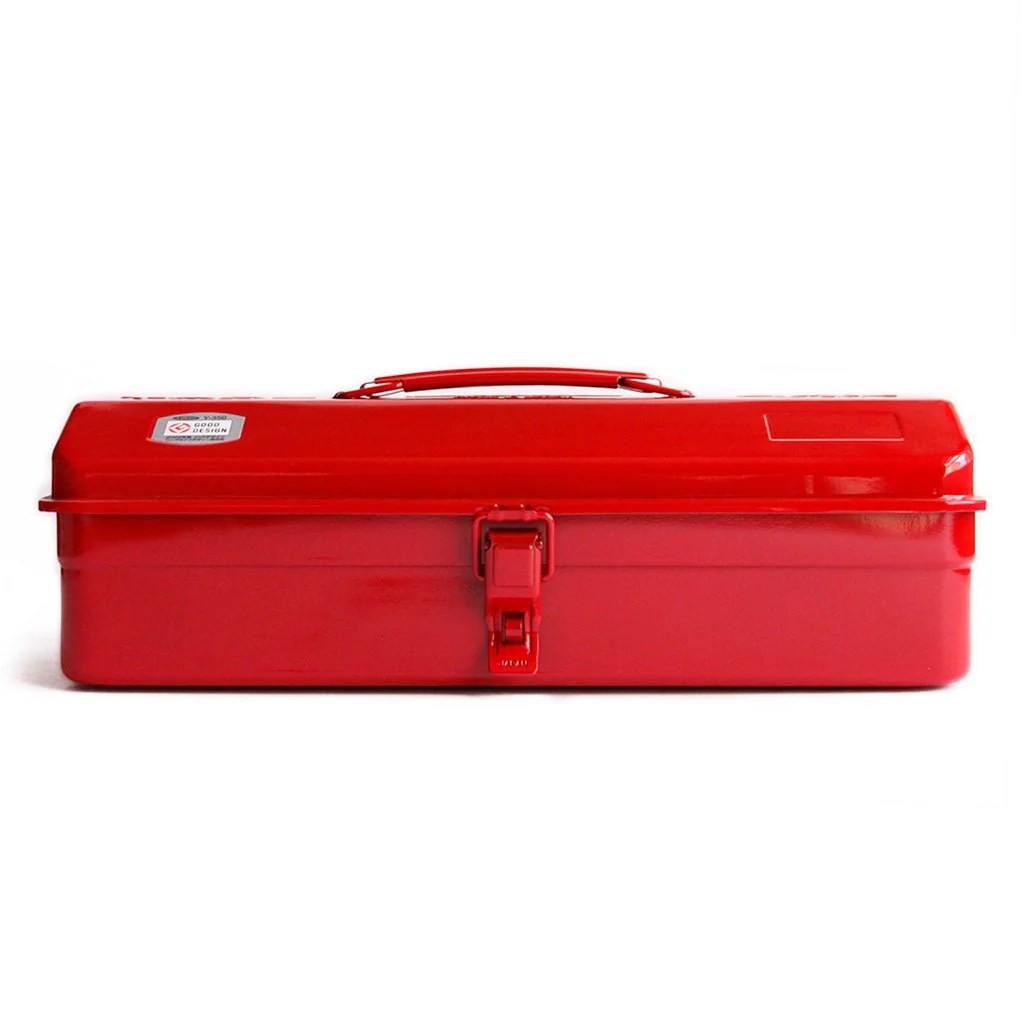
All Corvair owners know that you carry an extra belt in the trunk or in your portable tool bag. Here is what you need to change it on the fly when you’re on the side of the road. You can practice a belt change at home in your garage or parking spot safely so you are prepared.
- Make sure the parking brake is engaged and you are safely away from traffic
- Disconnect the negative battery cable
- If the old belt has snapped, look around to make sure no damage is done to any other engine component and clean up any loose pieces that may be in the engine bay
- If the belt is just “thrown”, be safe and replace it with a new one anyway.
- The engine will be HOT! To prevent burns, let the engine cool & carry a pair of leather gloves in your tool bag.
- Remove the air cleaner assembly from the engine so you have a better view and easier access. Turbo cars and cars with individual air cleaners should be ok.
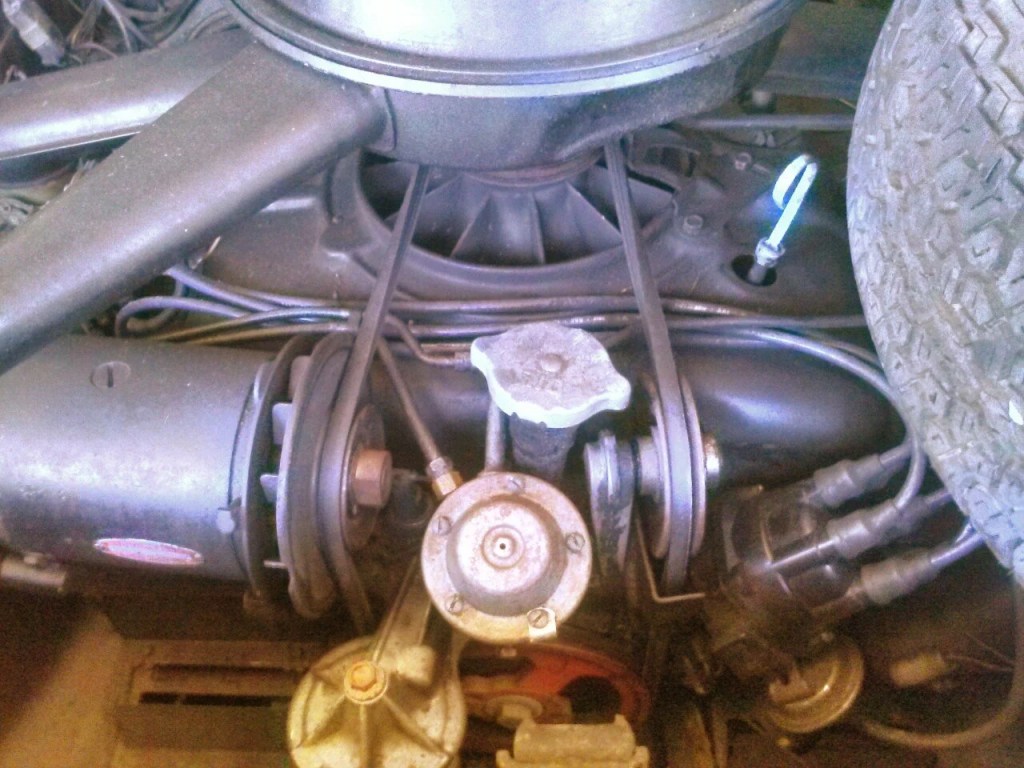
- Loosen the idler pulley (the one directly across from your alternator.) This is the best tool for the job but a 9/16 socket and ratchet or box wrench will work. You will see a nut and a bolt holding it on. The nut is closest to the engine should be loosened first. That nut will allow you to tension the new belt. If the idler pulley isn’t moving after you loosen the tension nut, loosen the pivot bolt to the left of it a quarter of a turn. Once it moves, push the pulley forward.
- Grab your new replacement belt and run it along the bottom crankshaft pulley up and over the alternator and idler pulleys, under the throttle cross shaft and around the back of the fan belt pulley.
- Once the new belt is in place, pull the idler pulley towards the back of the car. You don’t want the new belt to be too tight or too loose. Give enough tension so it’s snug but not tight like a guitar string. With one hand holding the pulley steady, tighten the pivot bolt and then the adjuster nut to the best of your ability. Then go over to your alternator or generator and with two fingers try to turn the fan. There should be light tension but you should be able to move it. If it won’t move, loosen the idler adjuster and push the idler just slightly forward and test again.
- Once the correct tension is achieved, re-assemble the air cleaner, re attach the negative battery cable and start the car. Let it run for a bit and see that the belt is operating correctly.
***Tools For The Job***
As mentioned above, the wrench that Clark’s provides is outstanding to tackle this job in short order. A ratchet set or conventional 9/16″ wrench will work in a pinch, but this tool pays for itself after the first belt change. We cannot recommend it enough.

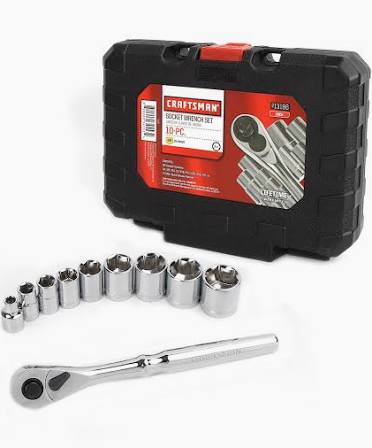
A portable 3/8″ drive SAE socket and ratchet set should be in your toolbox and will save you on the roadside. Don’t blow your cash on a Snap-On set, get a decent one HERE for super cheap. Or, if you’re the treasure hunting type, make your own set from Yard Sales, Swap Meets or on Marketplace.
Get a pair of leather gloves to keep in case you need to do a job like this, change a tire or handle anything hot. You’ll be glad you have them when you need them. For our vegan friends, Amazon has substitute leather, just don’t use cotton or, worse, rubber or nitrite. They won’t protect you from burns and could potentially burn through or melt.

On to the most important part… the fan belt!
Clarks makes two belts specifically for the Corvair. There is the wrapped and the slotted/grooved belt. Honestly, they both work about the same and the difference comes down to owner preference.
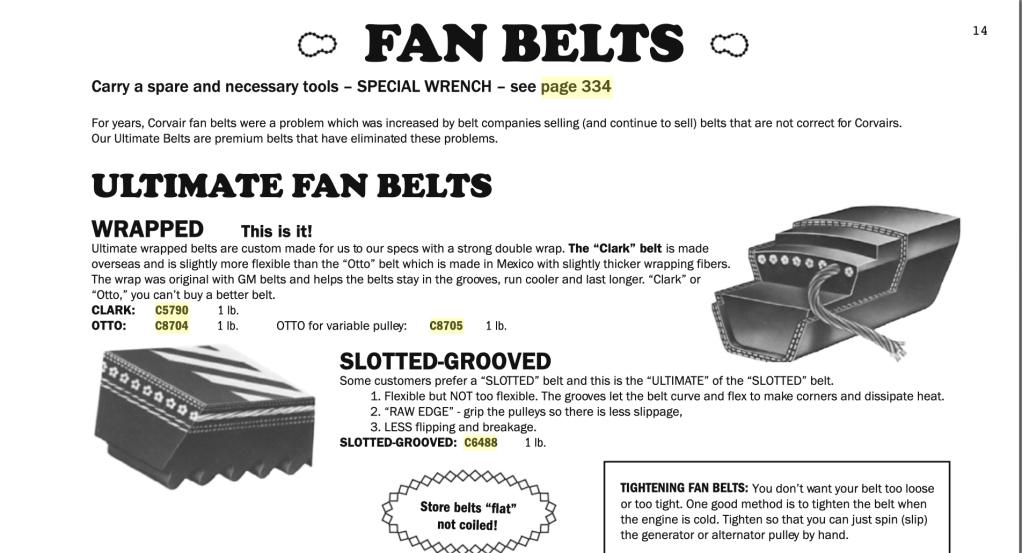
Gates also makes a FANtastic belt. The part number for this belt is Gates 3V560 Super HC . When purchasing, make sure that you purchase the Super HC. The standard belt is too thin and may fail prematurely or “flip”.
~For those who are curious, the belt is 56″ long and 3/8″wide with a 40 degree V to fit perfectly into Corvair pulley guides.~
Again, brick and mortar auto parts stores likely no longer keep this belt in stock, so it’s a good idea to buy two or three at a time.
***Checks and Maintenance***
Periodically, check the condition of the belt. They can loosen and will wear over time. The belt should be replaced every three years.
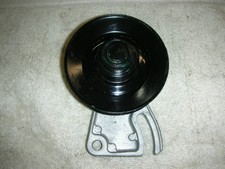
Check your pulleys periodically making sure they spin freely and the bearings don’t make any noise. Check for cracks, rust, chips or grime in the pulleys and clean or replace, if needed.
These checks and preventive measures will ensure that throwing belts is nothing more than a game played in Palm Springs every October.
Did we miss anything? Do you have a tip or trick that you’d like to share. Let us know in the comments.
Below is a video of a late model Corvair with a 140 engine. You can see when he first turns the key the warning lights come on for the fan and temp and turn off after ignition. This is normal operation. You will also note that the belt is snug but not tight on the engine. A loose belt will be “flopping” on the pulleys.


Leave a reply to Tech Tip~ 8 simple adjustments your Corvair probably needs – SFBA CORSA Cancel reply