
We hope that everyone is having a relaxing and fun Labor Day Weekend.
This tech tip recently re-earthed itself on the Corvair Center Forum and we thought it was worth sharing with you all. Unfortunately, it will not work with our friends who own 1960 or 1961 models, but is a good reference point for the rest of you with a single chamber brake master cylinder.

Not sure if you have a single or a duel brake master cylinder? Interested in making a cheap and important upgrade? Keep reading…
From user VairKing: “Just got done doing this, it’s easy to do, even easier if you know how to make your own brake lines, which I did. I had lots of fittings on hand, so you will need to use your new master cylinder and your friendly parts guy to get the correct size adapters to make 3/16” lines work.
Parts needed:
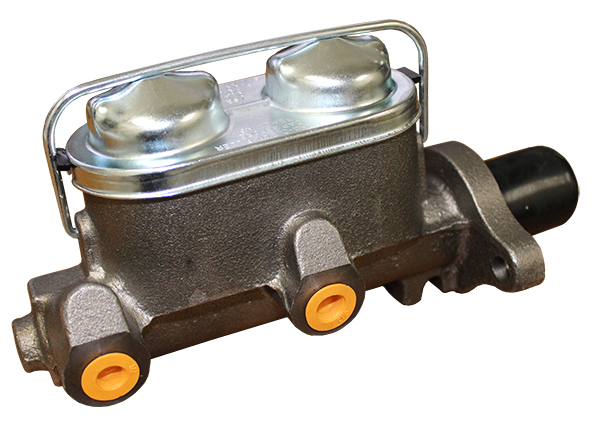
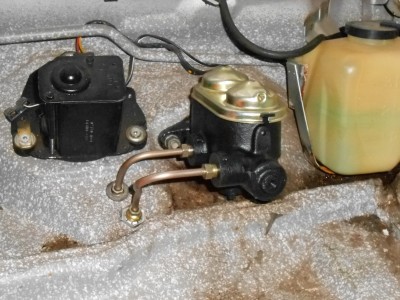
- Dual master cylinder for a ’67 Camaro w/ all drum brakes
Advance Auto Parts # 10-1505 $15.99 + $5.00 Core charge = $20.99*SFBA Note: We re-checked the pricing for this part as this article was written approx 15 years ago. The exact part from AA didn’t turn up any results, but we found this one from O’Reilly’s for $68.99 and this one from Napa Auto Parts for $73.99. You internet sleuths may be able to find a better deal out there.*- 3/8-24 double flair plug (like $2)
- 3/8-24 double flair interconnect, with 2 female ends.
- 12″ piece of 3/16″ brake line, I used the poly coated stuff mentioned in a previous thread and it bends very nicely without use of a bender.
- Brake Fluid
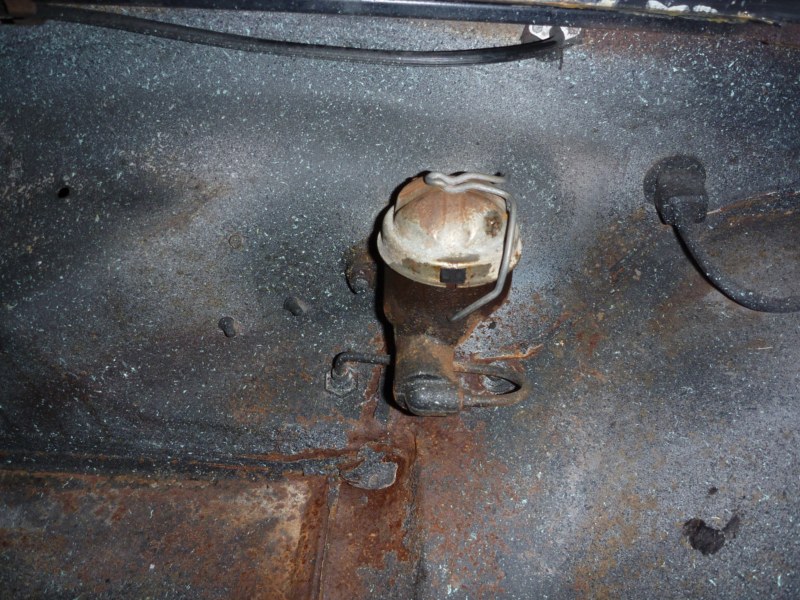
First remove old master cylinder. I chose to drill my hole for my rear brake line right in front of where the old brake line is. Clarks has you drill it way over towards the center of the car. Either way it doesnt matter.
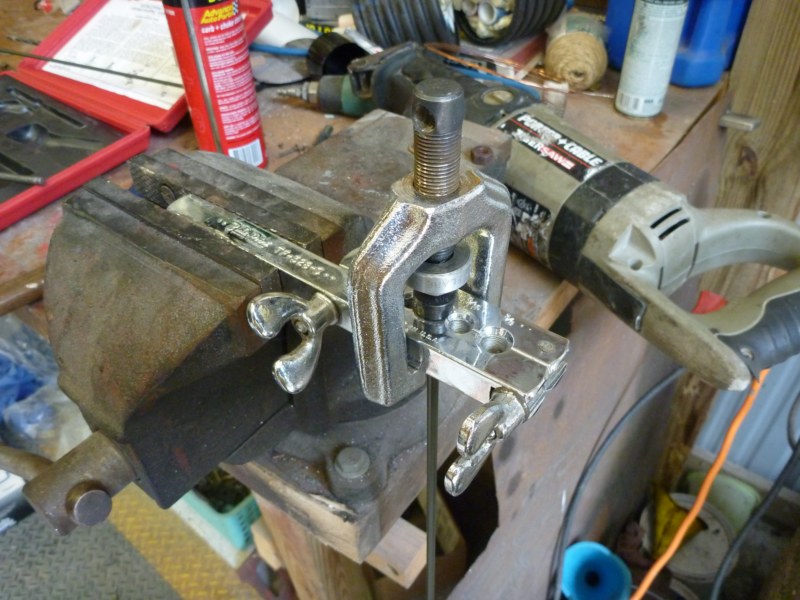
Here is my Double flare tool, made by Snapon. The harbor freight ones usually will not work.


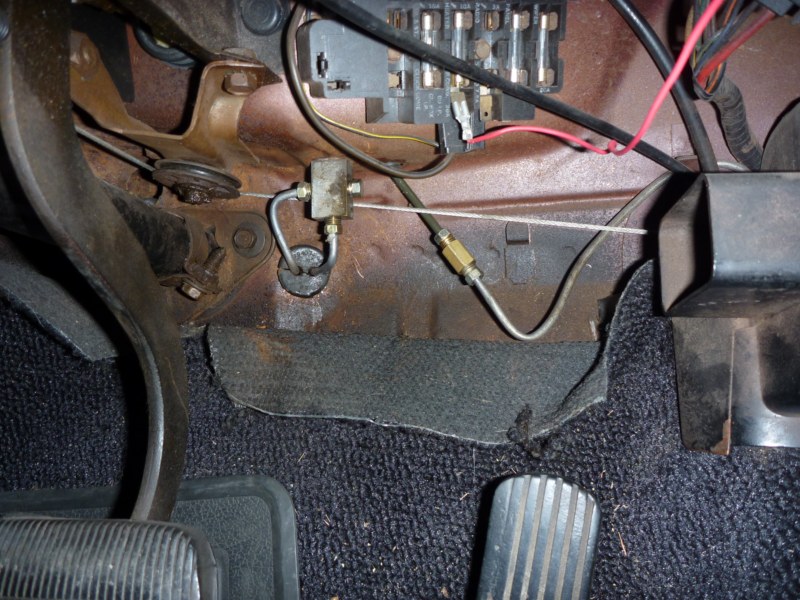
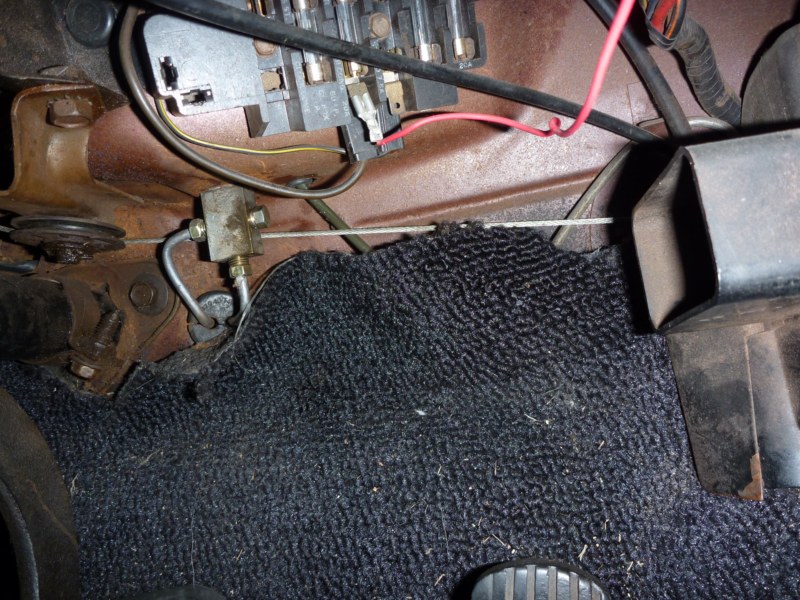
Next, mount the new master cylinder and route your new line for the rear brakes through the new hole, and thread the line onto the front port of the new master cylinder. Now wedge yourself up under your dash, and remove the brake line going to the rear brakes.

Plug the hole you just removed it from with the plug, then thread the 2 lines (one new from the master cylinder, the other old going to your back brakes) I put this union inside the car, Clarks has you put it out in the trunk. Either way is ok.
Put a grommet on the new line, and bleed all 4 brakes, and you are done! Easy right?!?! Takes me about an hour to do such a conversion.

Here were some helpful replies to this tutorial…
From our own Seth Emerson:
“For reference, the tube going to the rear brakes is a 3/16″ on a 62-65. They changed to a 1/4” tubing on the 66. Be sure to get the correct fittings to match. (Both the plug for the old hole, and the “in-between” fitting to extend the rear tube, over and up) If you are going to move over a 67-69 system, with all the plumbing, try to get the 67-newer fittings from the footwell, too. Cleaner install. The line to the rear will, after a little bending, fit the 67-69 rear brake brass bulkhead adapter. That adapter has a single 1/4″ SAE inverted-flare female port. The 66 rear feed tube fitting will screw right in, the 65 needs a 3/16 SAE inverted-flare female to a 1/4″ SAE inverted-flare male brass adapter. It is a Dorman brand P/N 785-432D, again, a little tube re-bending and it screws in. I don’t suppose anybody has the correct sheet-metal punch sitting around to properly make the flat-side hole for the original fitting to lock-through? McMaster-Carr has them for more than $400! Uh, no thanks.”
From user Lane66m:
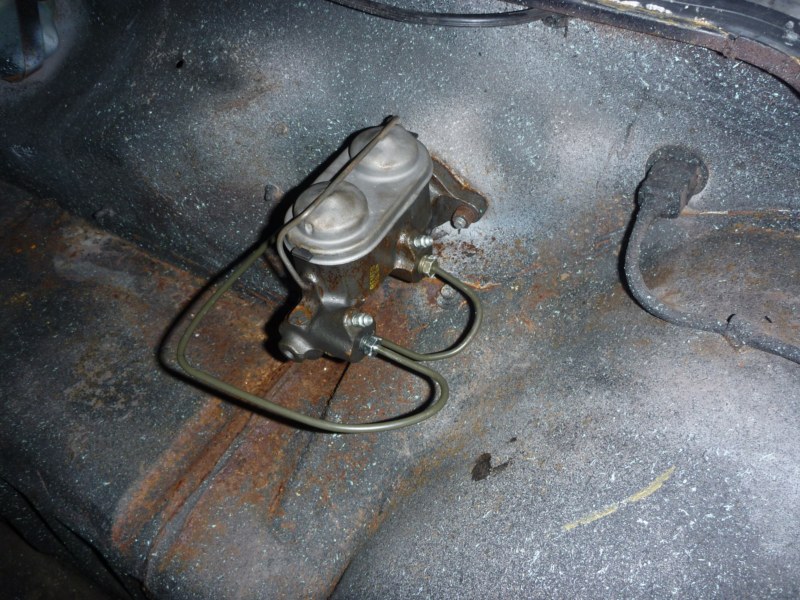
“Here is a quick photo of my LM. It followed the production standard. EMs never got a production standard. Yours is a best practiced route you will have to follow. Start your post and my details that would pertain to the EM on what I did will follow.”
From user Jim Brandberg:
Things are a little more expensive now than $30 in 2010. I like to buy new Raybestos master cylinders but I’m spoiled with Brake and Equipment Warehouse sort of nearby.
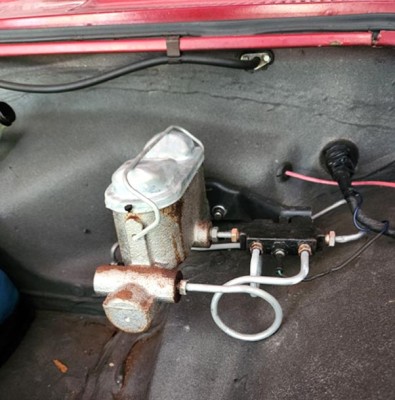
I use a left exiting MC on Late cars and have a pattern for making the lines. I like to use tube nuts that fit the master cylinder rather than adapters. I like having the lines tucked in close and not vulnerable. I think I now locate the new line a little further back so it’s easier to bend the existing line to fit under the dash.
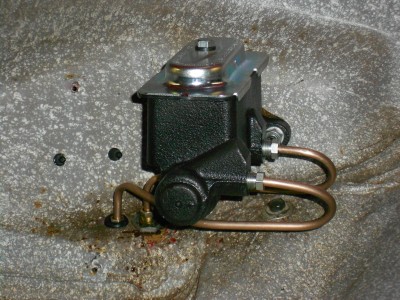
SFBA Note: If you don’t have the time, energy or stomach to hunt around for parts or flare and bend your own brake lines, Clarks Corvair Parts makes a really nice kit that has everything you need for this conversion. At $140 – $150 + shipping, you can’t really beat the deal if you are looking for a quick swap.
We will re-publish tech tips from time to time from the Corvair Center Forum. The Corvair Center Forum is operated and maintained by the Corvair Society of America (CORSA).
Make sure to go over there and create an account and visit often. Some of the tech talk can get very technical, so we will try to share valuable topics here in easy to digest bites. If you haven’t joined the Corvair Society of America yet, please consider doing so.


Leave a comment