
By Mike Dawson, HACOA Chapter
Original clutch discs contained asbestos, which was banned long ago. The replacement material is harder and may not engage as smoothly. It is not uncommon to have minor chatter in reverse and sometimes first gear even with all new parts.
This chatter can usually be avoided by different pedal application and/or adjustment. Additional possible chatter issues include:
~ Grease on the clutch disc causes chatter, however, a severe leak will make the clutch slip.
~ A leaking clutch shaft seal (or badly cracked release bearing shaft) will allow differential grease to be thrown from the clutch disc hub outward.
(Note: 60-63 clutch shaft seals are a smaller size than 64-69, check for the correct size when you install one. A failing crankshaft main seal will leak behind the flywheel and normally will not get on the clutch disc.)
~ Clutch chatter (accompanied by a squeal) can be caused or aggravated by a bad pilot bushing so be sure and change this inexpensive item any time the transaxle is removed, as they take a set while in service. If you do not have a new Oilite bushing be sure and pressure oil an aftermarket bushing with two fingers.
~ Rusted or damaged splines on the clutch shaft or the clutch disc can cause chatter. These splines have to be lightly lubed in order for the disc to move away from and towards the flywheel smoothly.
~ A very tall first gear ratio such as a three speed combined with a 3.27 differential and tall tires will almost guarantee chatter in first and reverse.
~ A very stiff FC clutch cable can also make a minor chatter problem much worse.
~ Loose bolts in the cross mount to transmission (mainly on 60-65 models) or loose or broken motor mounts could let the transaxle jerk with clutch application.
~ Although rare, a release bearing that is binding due to a crack or severe wear in the differential shaft can aggravate chatter.
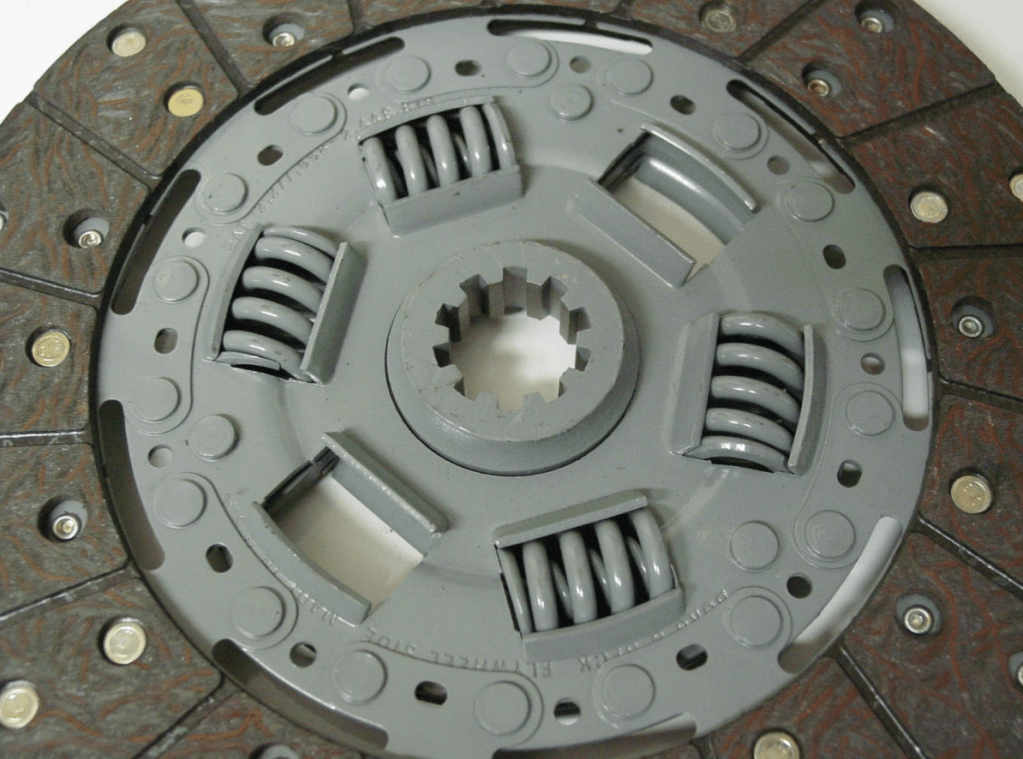
~ Corvair clutch discs do not have anti-chatter springs because the long clutch shaft is flexible torsionally. A spring loaded Vega disc can have the hub machined down to fit a Corvair and would offer a softer application. Be sure the hub would clear the flywheel bolts and reinforcement ring, including an allowance for wear.
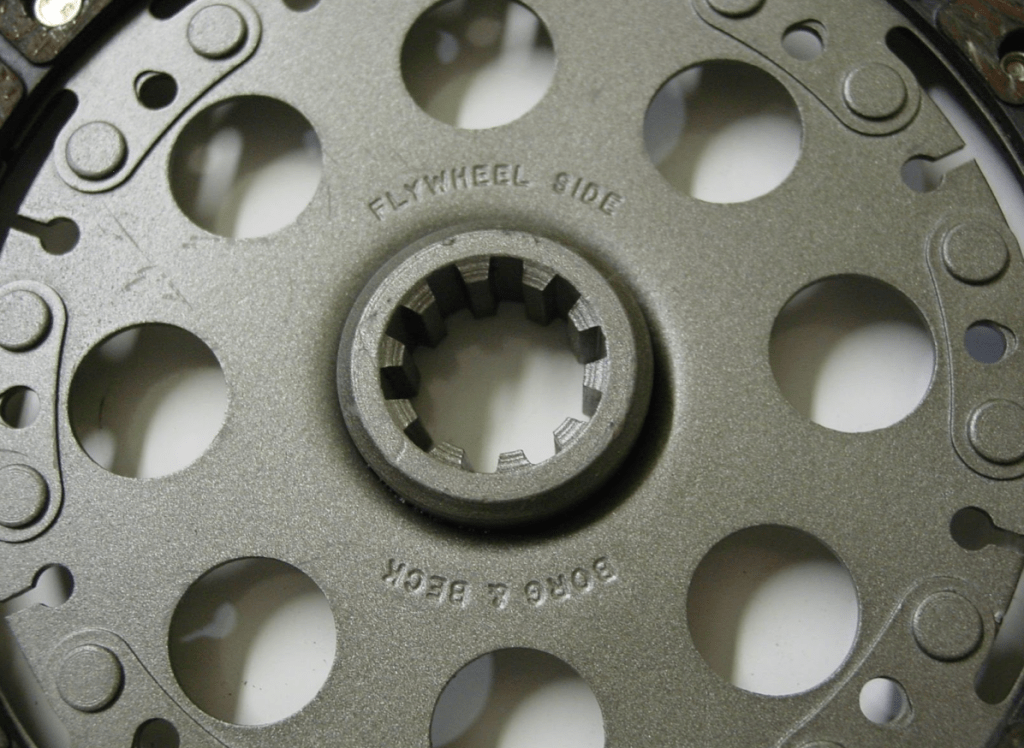
~ An additional disc note: Only use new or rebuilt discs with a welded center. The riveted center discs are too close to the flywheel reinforcement and can rub after they wear down a small amount. The correct welded center discs will have the words “Borg & Beck” and “Flywheel Side” stamped on the center.
~ I have found a small number of the correct discs that were missing the Borg & Beck stamp but all other features remained the same. Those may have been reproduced by Corvair vendors and no doubt will work perfectly.
Below is rebuilt disc on an original GM core. Note the stamping for “Flywheel Side” and “Borg & Beck”
Below is pictured a Vega disc with damper springs and the center splined hub machined to clear the crankshaft hub on a Corvair.
**************SFBA NOTE**************
A clutch job isn’t terrible for the DIY’er. The most important thing you want to do before undertaking is to make sure your Corvair is jacked high enough for the power-pack (Engine, Differential & Transmission to be dropped and clear the underside of the car.
For those on jack stands or portable lifts, this may require removal of the air cleaner, carburetors and possibly alternator/generator.
If using jack stands, please be careful and make sure the stands are in good working order and rated for the job. Also, make sure the stands are securely seated under the jack points just aft of the front tires and forward of the rear tires. More info on this can be found here
There are many ways to remove the power pack. Some members have a specially made cradle that attached to a transmission jack, a hydraulic lift table, atv jack or wooden cradle.
Some may say that you can just drop the engine side and remove the engine while leaving the differential and transmission bolted to the car. We do not recommend this method as it can possibly bend the input shaft and crack the differential “snout”.
If you want to learn more about removal, part replacement, and re-install, there are a number of tutorial videos on You Tube and in the forums. The CORSA Tech Guides are also an invaluable resource for this and many other jobs.
To get the correct parts for the job, visit our friends at Clark’s Corvair Parts.
Have a story about a clutch job success or a job gone awry? Anything important that we forgot? Let us know in the comments.
Thanks again to Mike Dawson for the educational tip!

Leave a comment